
THANK YOU!
Your message has been sent.
In the meantime, we invite you to check out our frequently asked questions or learn more about our restoration process.
Your message has been sent.
In the meantime, we invite you to check out our frequently asked questions or learn more about our restoration process.
Let’s look at each step in detail.
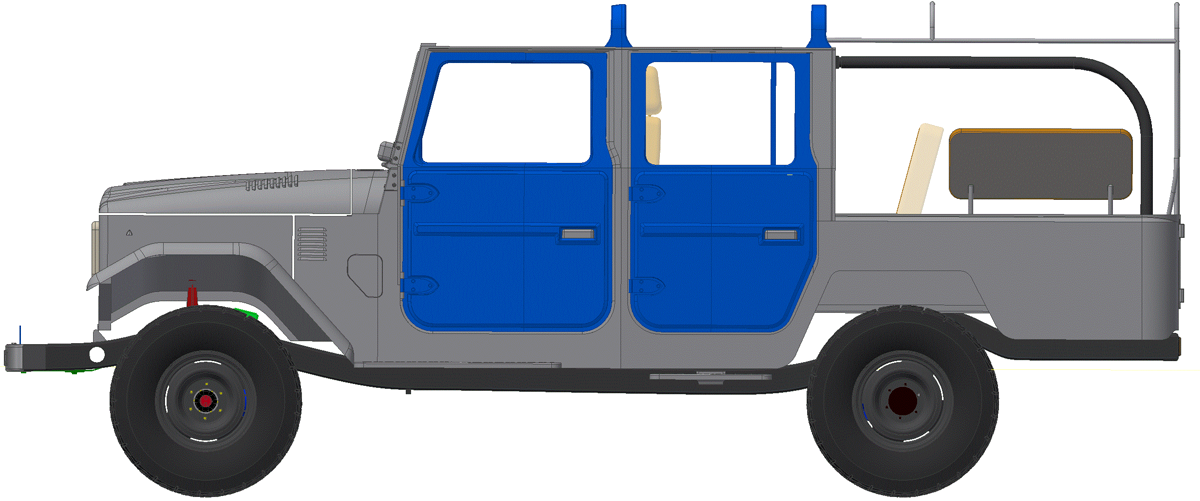
At the very beginning of our process is a rigorous engineering approach to our projects. Our standard production models (G40’s) and even one-off custom projects are modeled using computer aided design (CAD). During this stage we take into considering the use case for the vehicle based on client feedback, the body type, power/drivetrain configuration, and any accessories that the vehicle will have.
We always lead the design process with a simple philosophy: stay faithful to the original classic Land Cruiser, and update it to modern use and comfort.
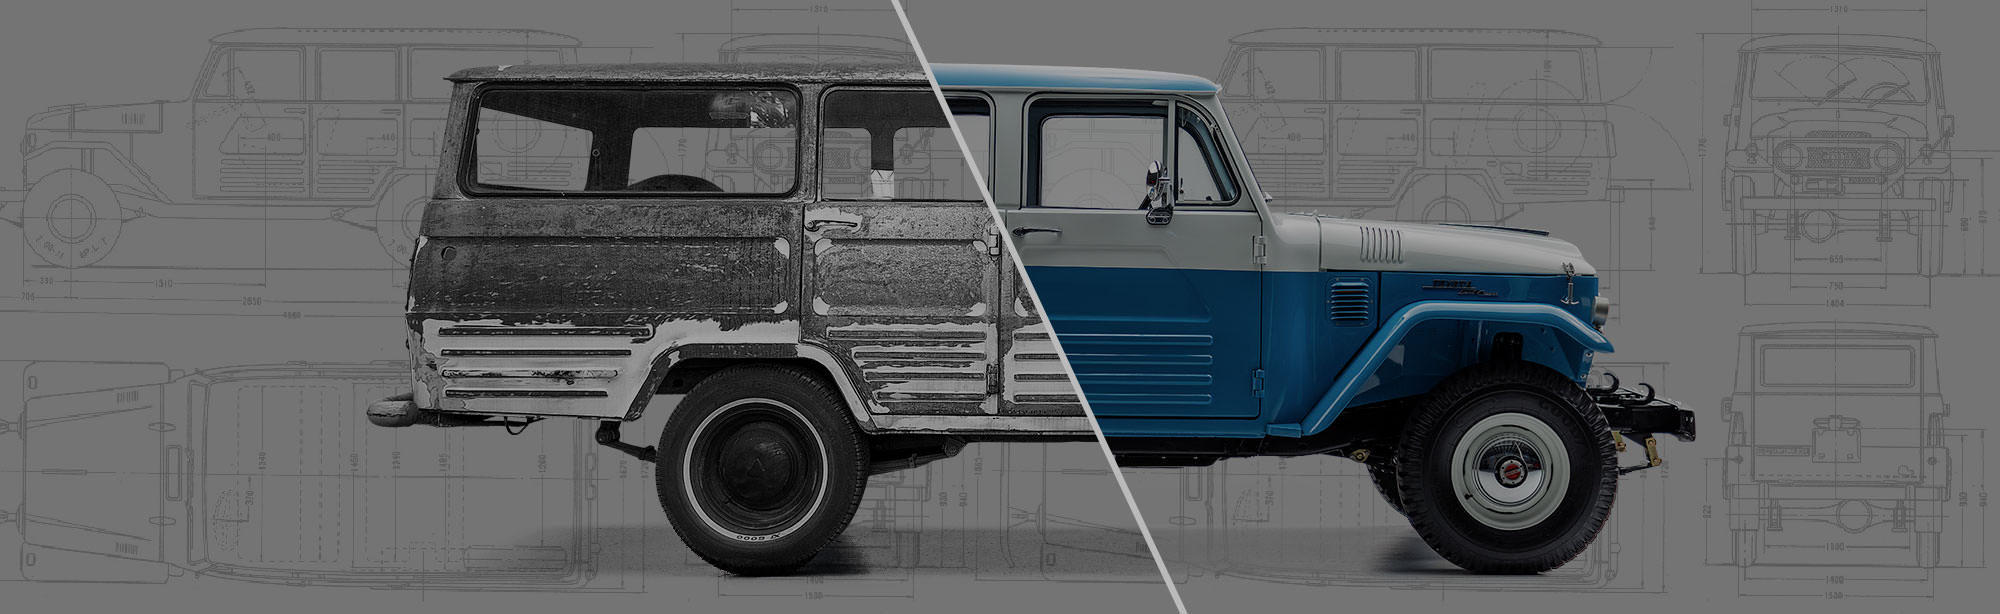
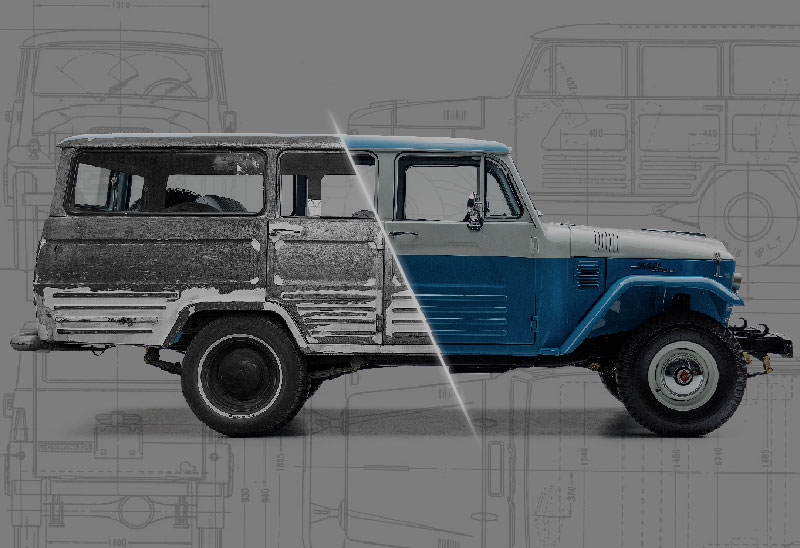
The actual build process begins with the selection of a donor vehicle for the project in mind. To have a solid foundation, only those with limited rust and integrity in the chassis qualify. Additionally, we try to limit our selection to Land Cruisers with original engines and gearboxes, to prevent working on a chassis that has already undergone extensive modifications. We largely focus on Land Cruisers that were made in the Toyota factory in Japan.
In this stage we completely disassemble the donor down to its chassis. Unless we are doing a classic restoration, mechanical and interior components are discarded or sold as scrap.
Our Quality Control Team (QC) then inspects the chassis and body panels, and determines which components are suitable for use in the project. A work order is created detailing any body panels that need to be replaced and/or fabricated from scratch.
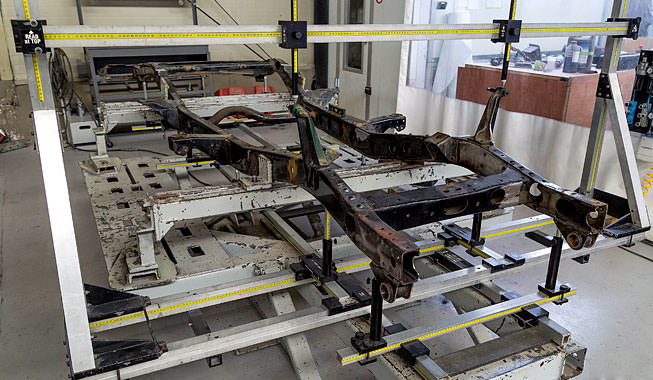
Next, the chassis is put on a jig where it’s inspected carefully and re-aligned to factory specs. This is possibly the single most important part of our process. And that is because after decades of hard work, these vehicles tend to have deviations in their structural integrity. For their new lifetime - with greater horsepower and at faster speeds - we need them to be straight. Even the smallest deviation will cause the vehicle to vibrate or behave strangely in certain conditions.
Any usable body panels are then sent to our wet-blasting facility. Every bit of paint and body rust is removed from these components while applying a rust prevention inhibitor. Finally, the body panels and any related components are sorted and stored in restoration cubbies designated solely for each project.
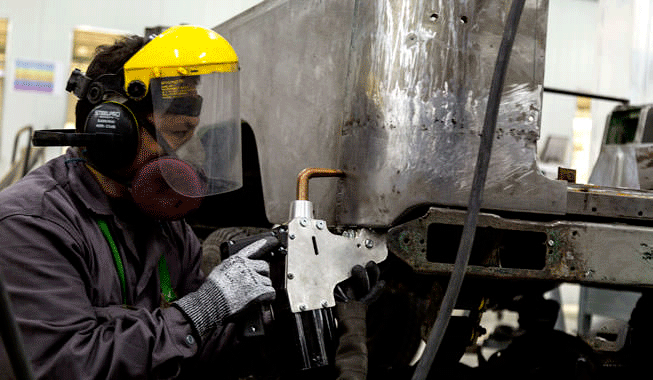
With the chassis stripped of paint and aligned back to factory specs, it passes onto the Fabrication Team. This is where we reinforce certain frame components and make the structural changes needed to take on the upgraded engine, transmission, steering and suspension setup. Then it is galvanized in molten zinc to prevent future corrosion, powder coated, and painted.
In parallel with the final chassis work, our Body Work team is busy modifying or re-creating steel body panels - by hand - based on the particulars of the project. As of 2019, a typical project involves using 40% of the original body panels, and 60% new fabricated pieces made of galvanneal steel.
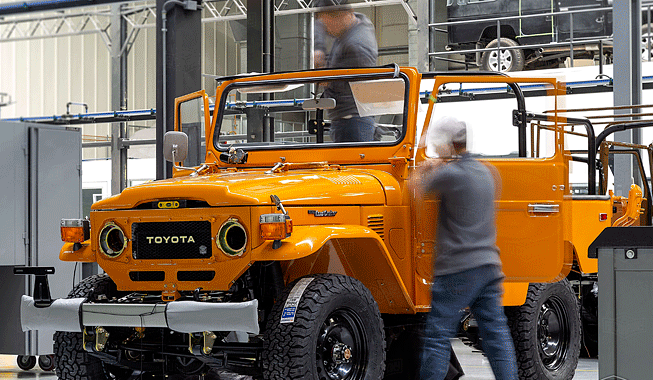
Then begins the arduous process of assembling the vehicle in what we call the “raw state”. This involves assembling every core component of the vehicle along with the accessories that will attach to the chassis and body, making sure that they fit correctly, and that gaps are within acceptable parameters.
Because each vehicle is hand built, this is the only way to ensure the final assembly process goes smoothly.
With the vehicle fully assembled, our QC team kicks back into gear and inspects the project vehicle using a 150 point check-list. If it passes, it goes into Preparation and Paint.
After a successful inspection, the Body Work team disassembles the raw vehicle, they inventory its components, and pass it onto the Preparation Team.
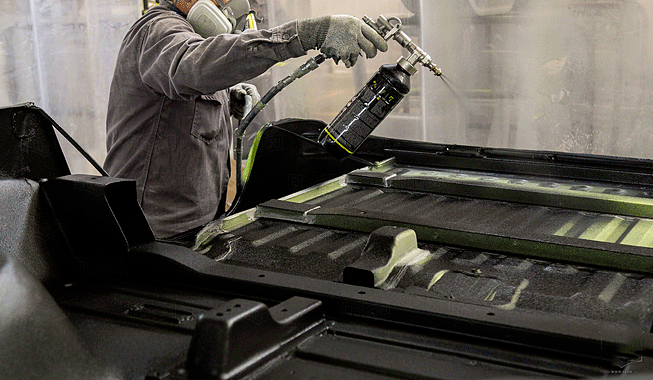
The Preparation Team is responsible for applying certain techniques that we have learned and developed over the years to minimize rust and extend the durability of your vehicles paint job. As of 2019, our process includes hot dip galvanizing the chassis to prolong its longevity for the decades to come.
After the preparation stage, the body and chassis pass on to the Paint Team.
This is where we apply color and coats of clear. Our paint team is run by experienced professionals that dedicate themselves day in/day out to ensuring we achieve better than factory finishes.
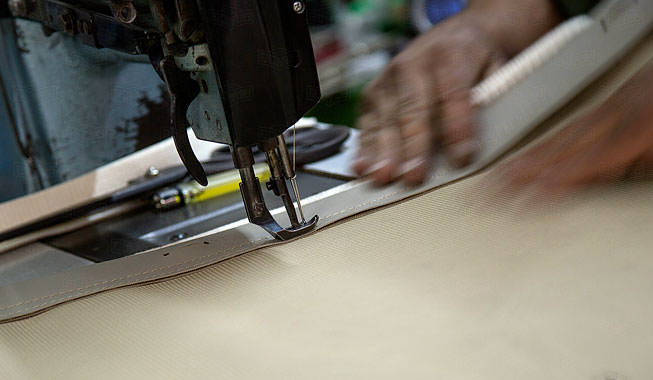
In parallel with Preparation and Paint, our upholstery craftsmen have been busy cutting, stitching, and sewing. Every aspect of your Land Cruisers interior (and soft top) is done in-house, using time tested materials.
The electrical team is busy manufacturing the wiring harness for your vehicle from scratch based on the particulars of the project, and the Mechanical Team is preparing the power and drivetrain components having sourced the different pieces from Toyota suppliers in the US, the middle east, or Japan.
This is the most rewarding step of the process.
Like building a LEGO, the vehicle is assembled in a very specific order that has been developed over the years to allow for QC along the way, and to minimize damage to its different components.
Starting with the chassis, the Mechanical Team assembles the drivetrain components: first the suspension, then axles, brakes, engine and transmission, and finally the fuel system.
Then comes the body, new windows, new emblems, rubber seals, etc. Then the Upholstery and Electrical Teams come by and assemble the interior and finish accessorizing the vehicle: seats, door panels, lights, winch, sound system, etc.
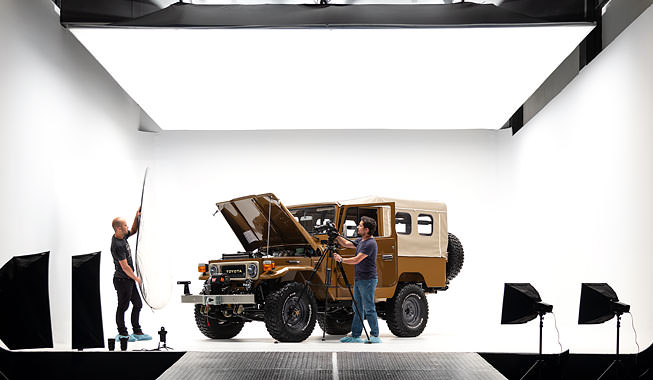
Along the way, our photographers have been documenting the process, and we’ve been updating your project on our website monthly.
At the very end, the vehicle is ready for prime time. It goes into our studio for a detailed inventory of high-resolution pictures. This is a good time to review your project and give us feedback.
Did we miss anything? Hopefully not.
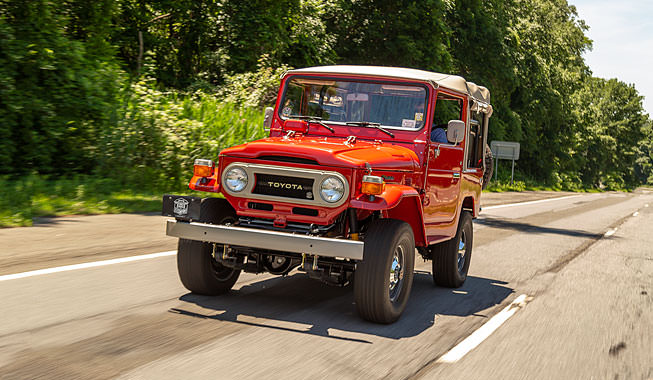
After the studio, it hits the road for 500 miles of testing. This is an on and off road course, over several days, where we “teach” the vehicle how to drive and work out its kinks.
A final QC inspection, paint details, protective packaging, and off it goes!